By Grant Cool
•
July 16, 2026
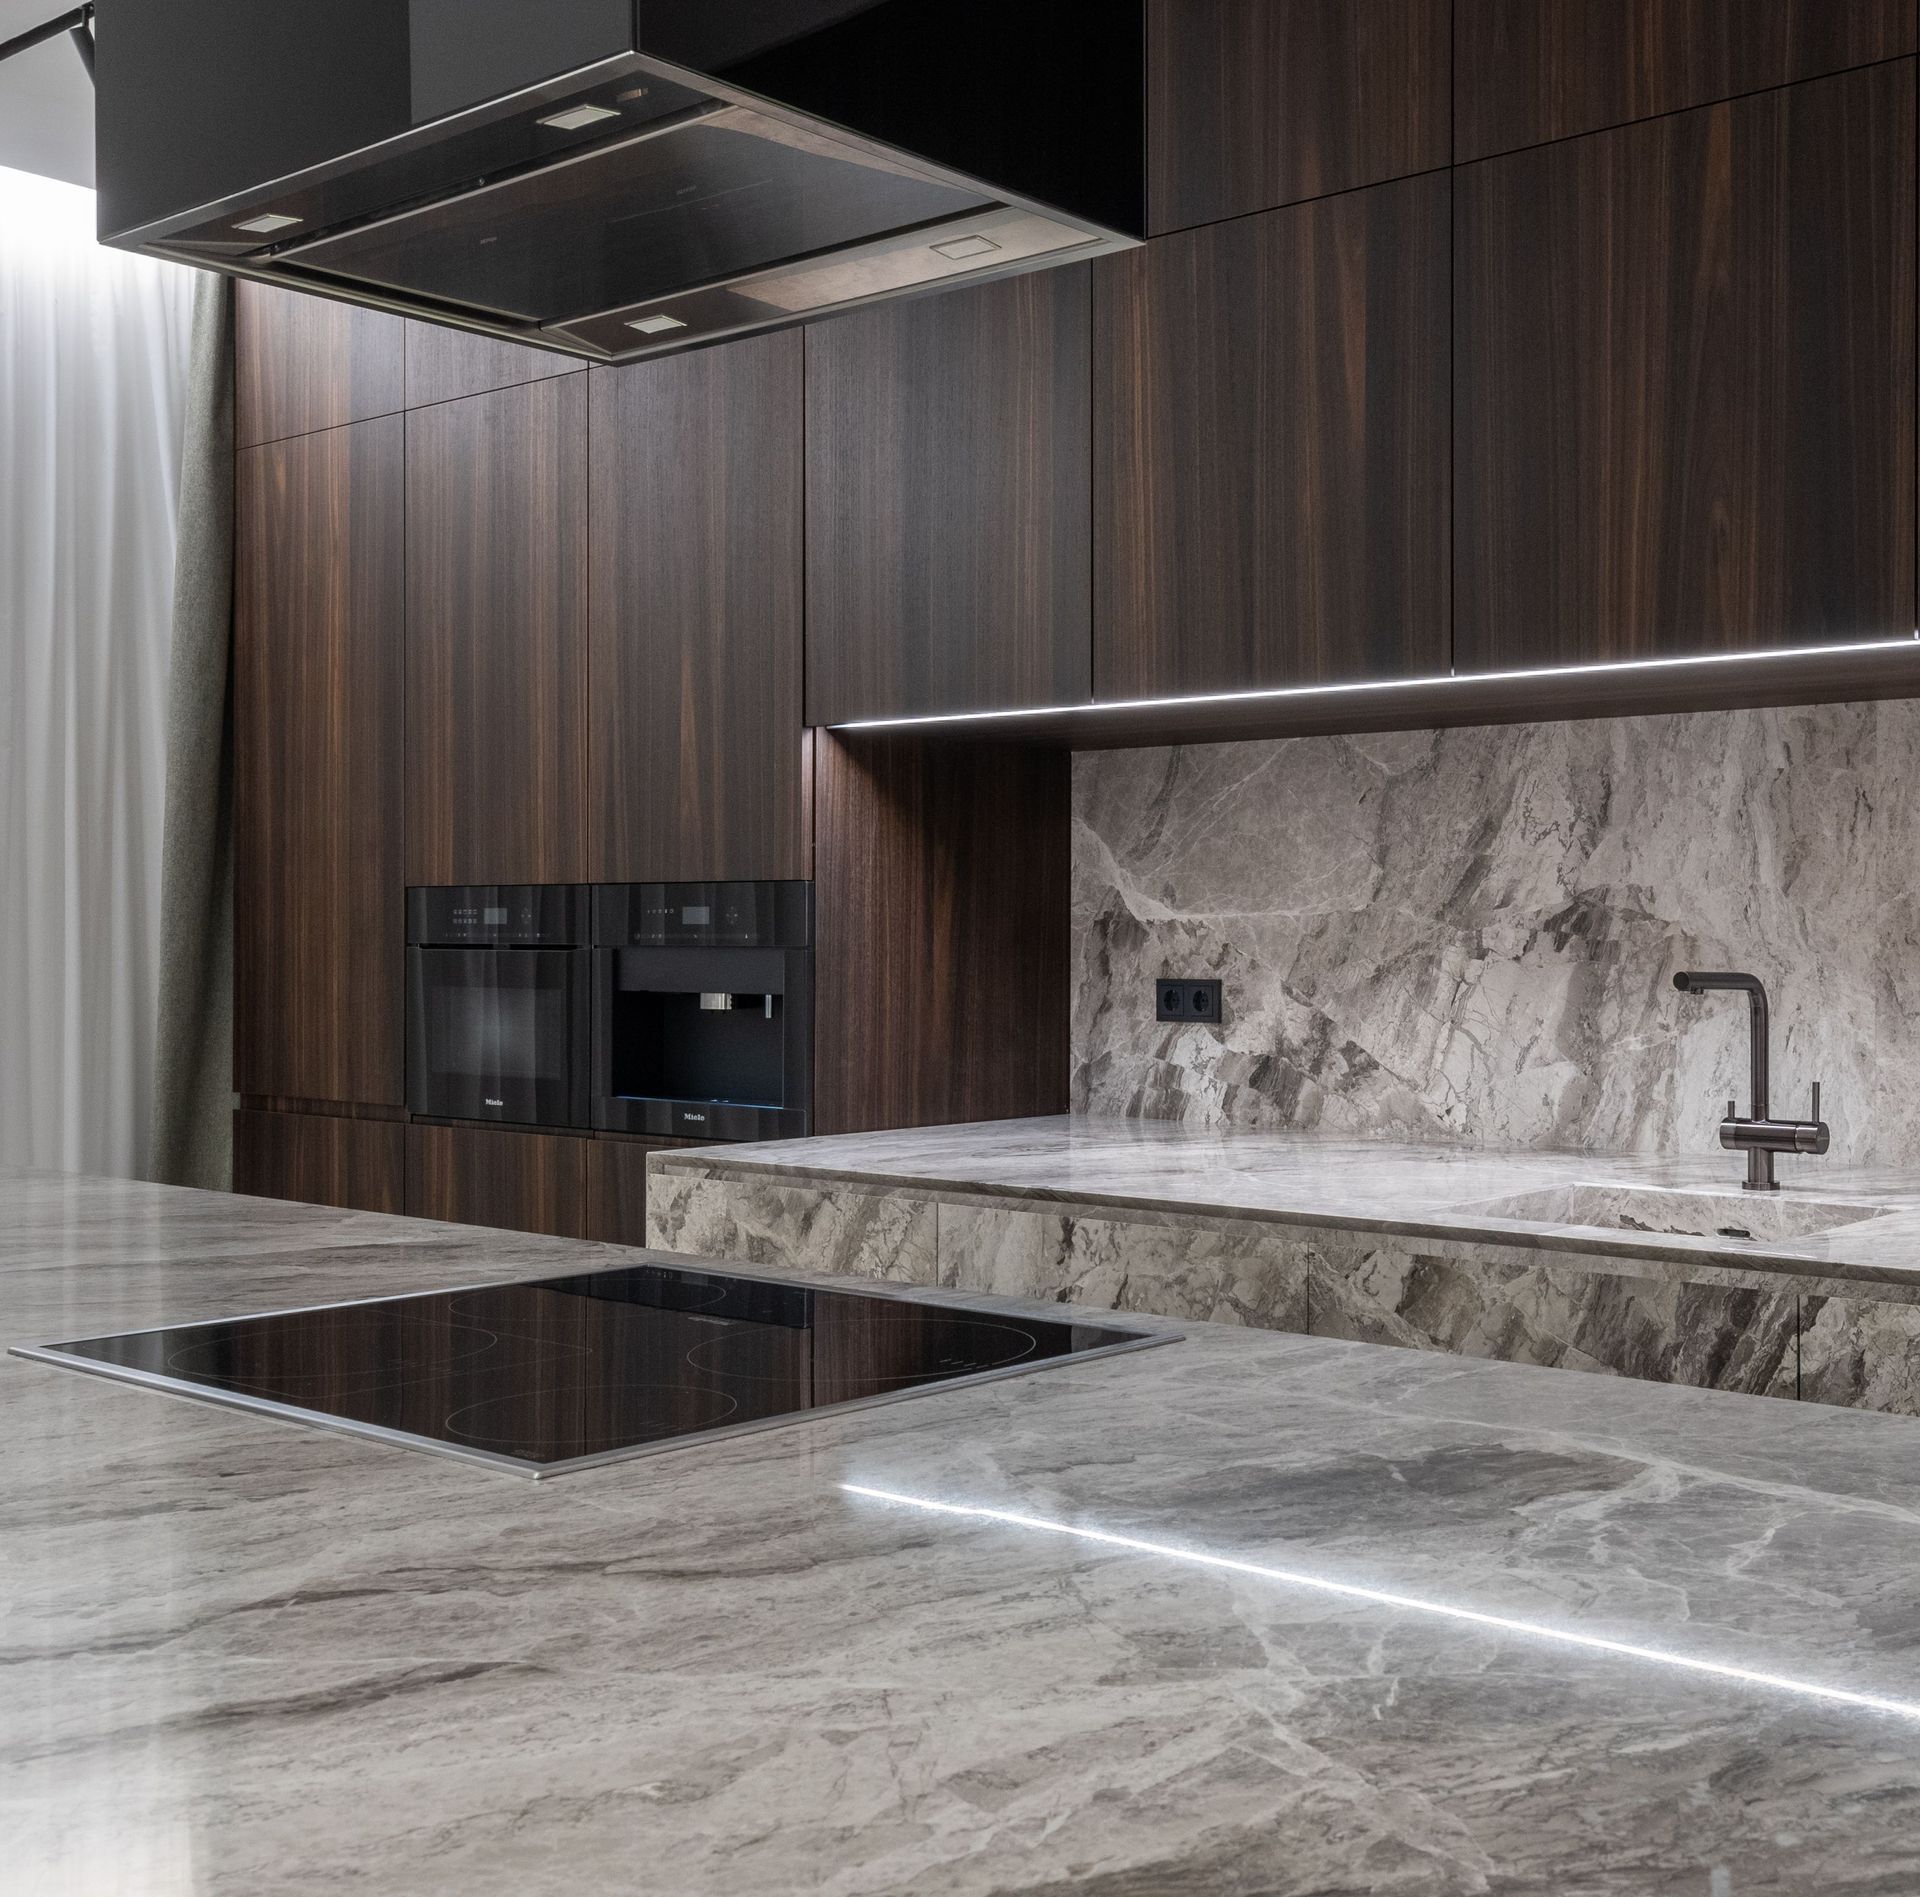
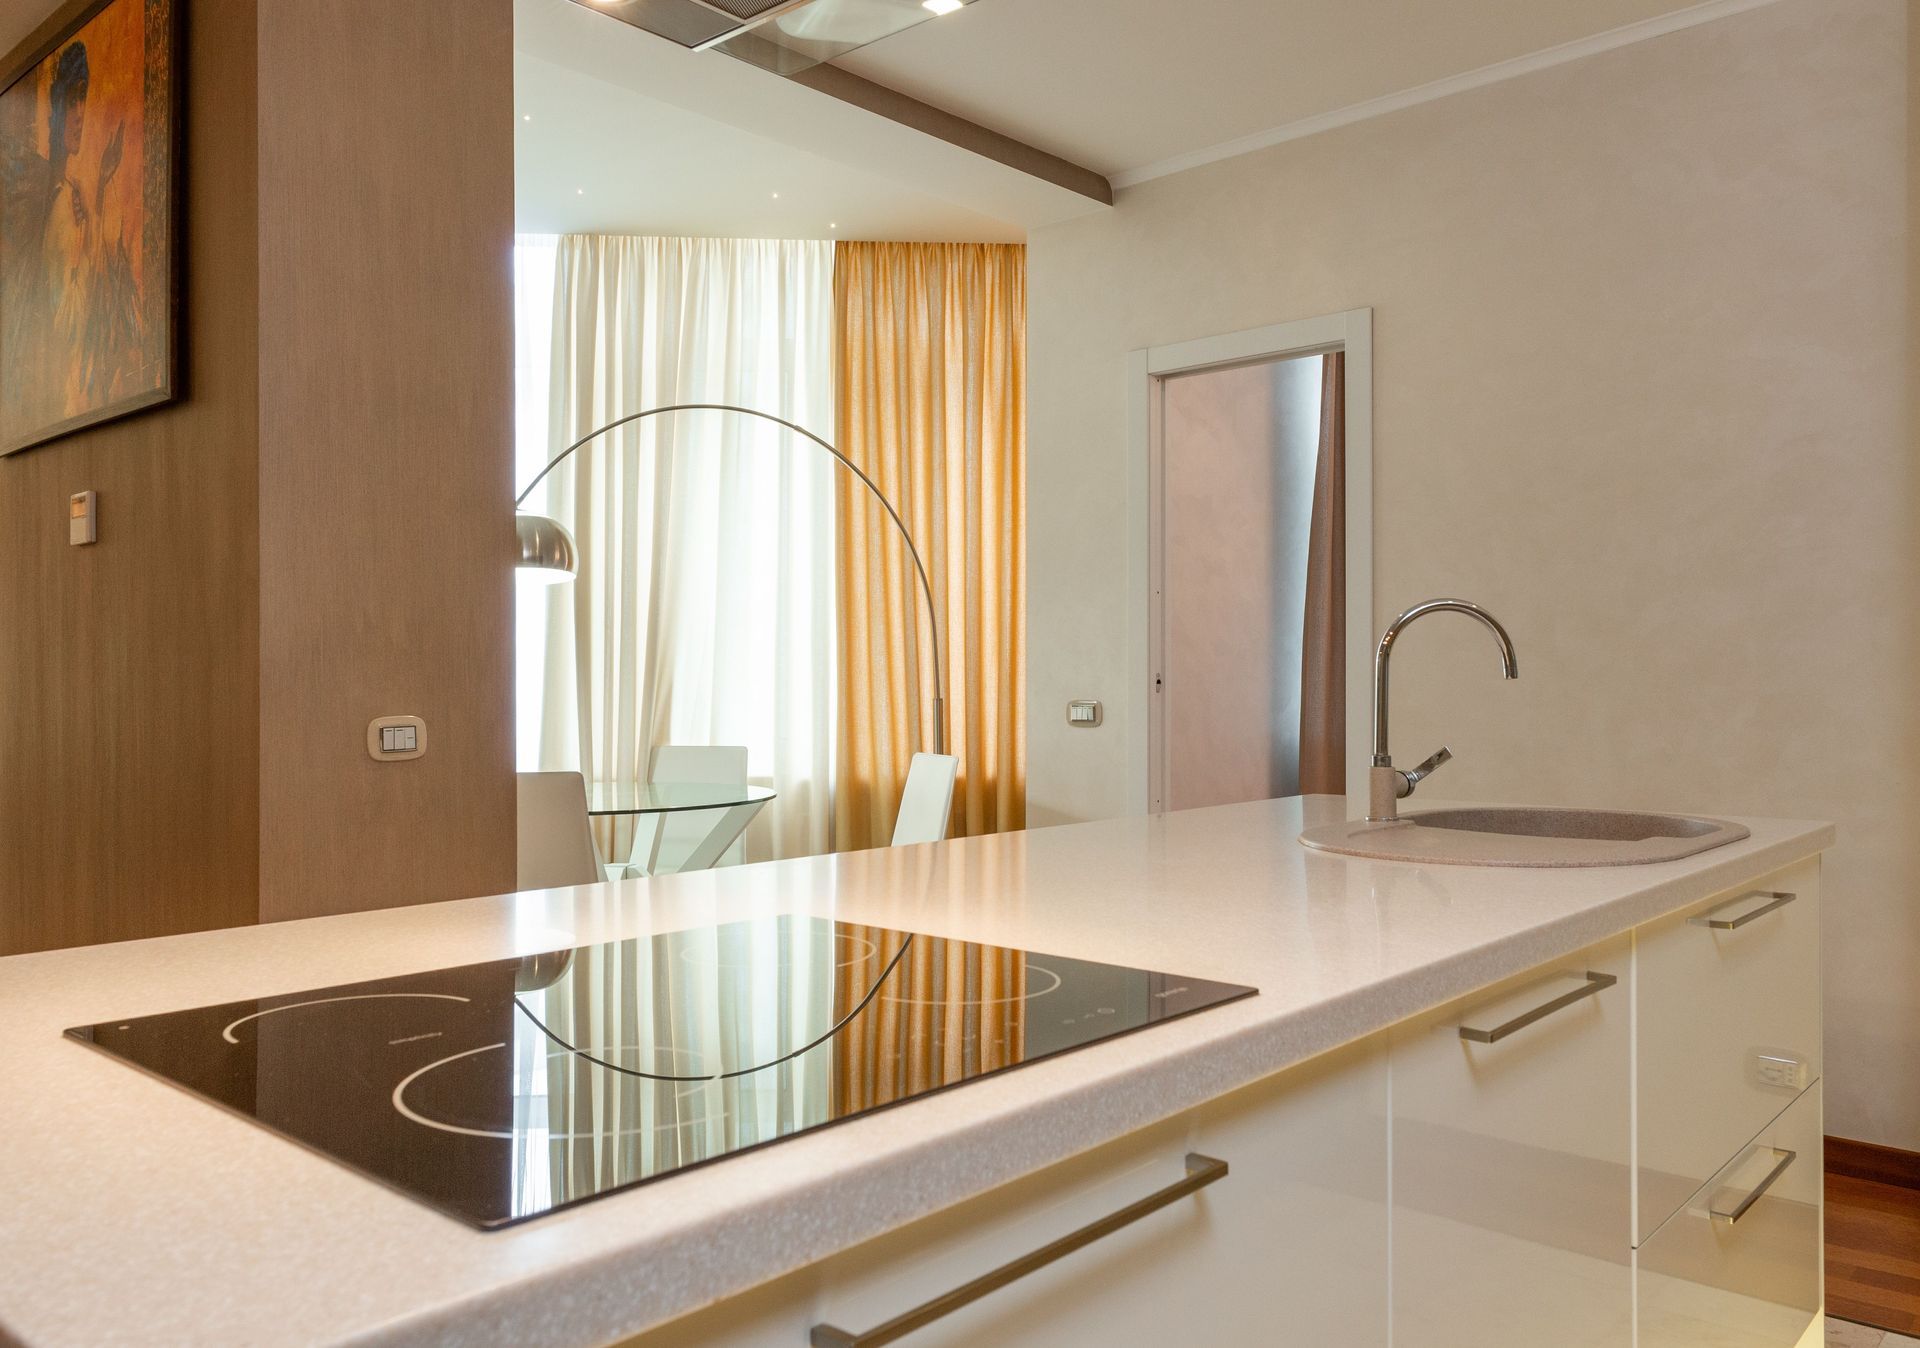
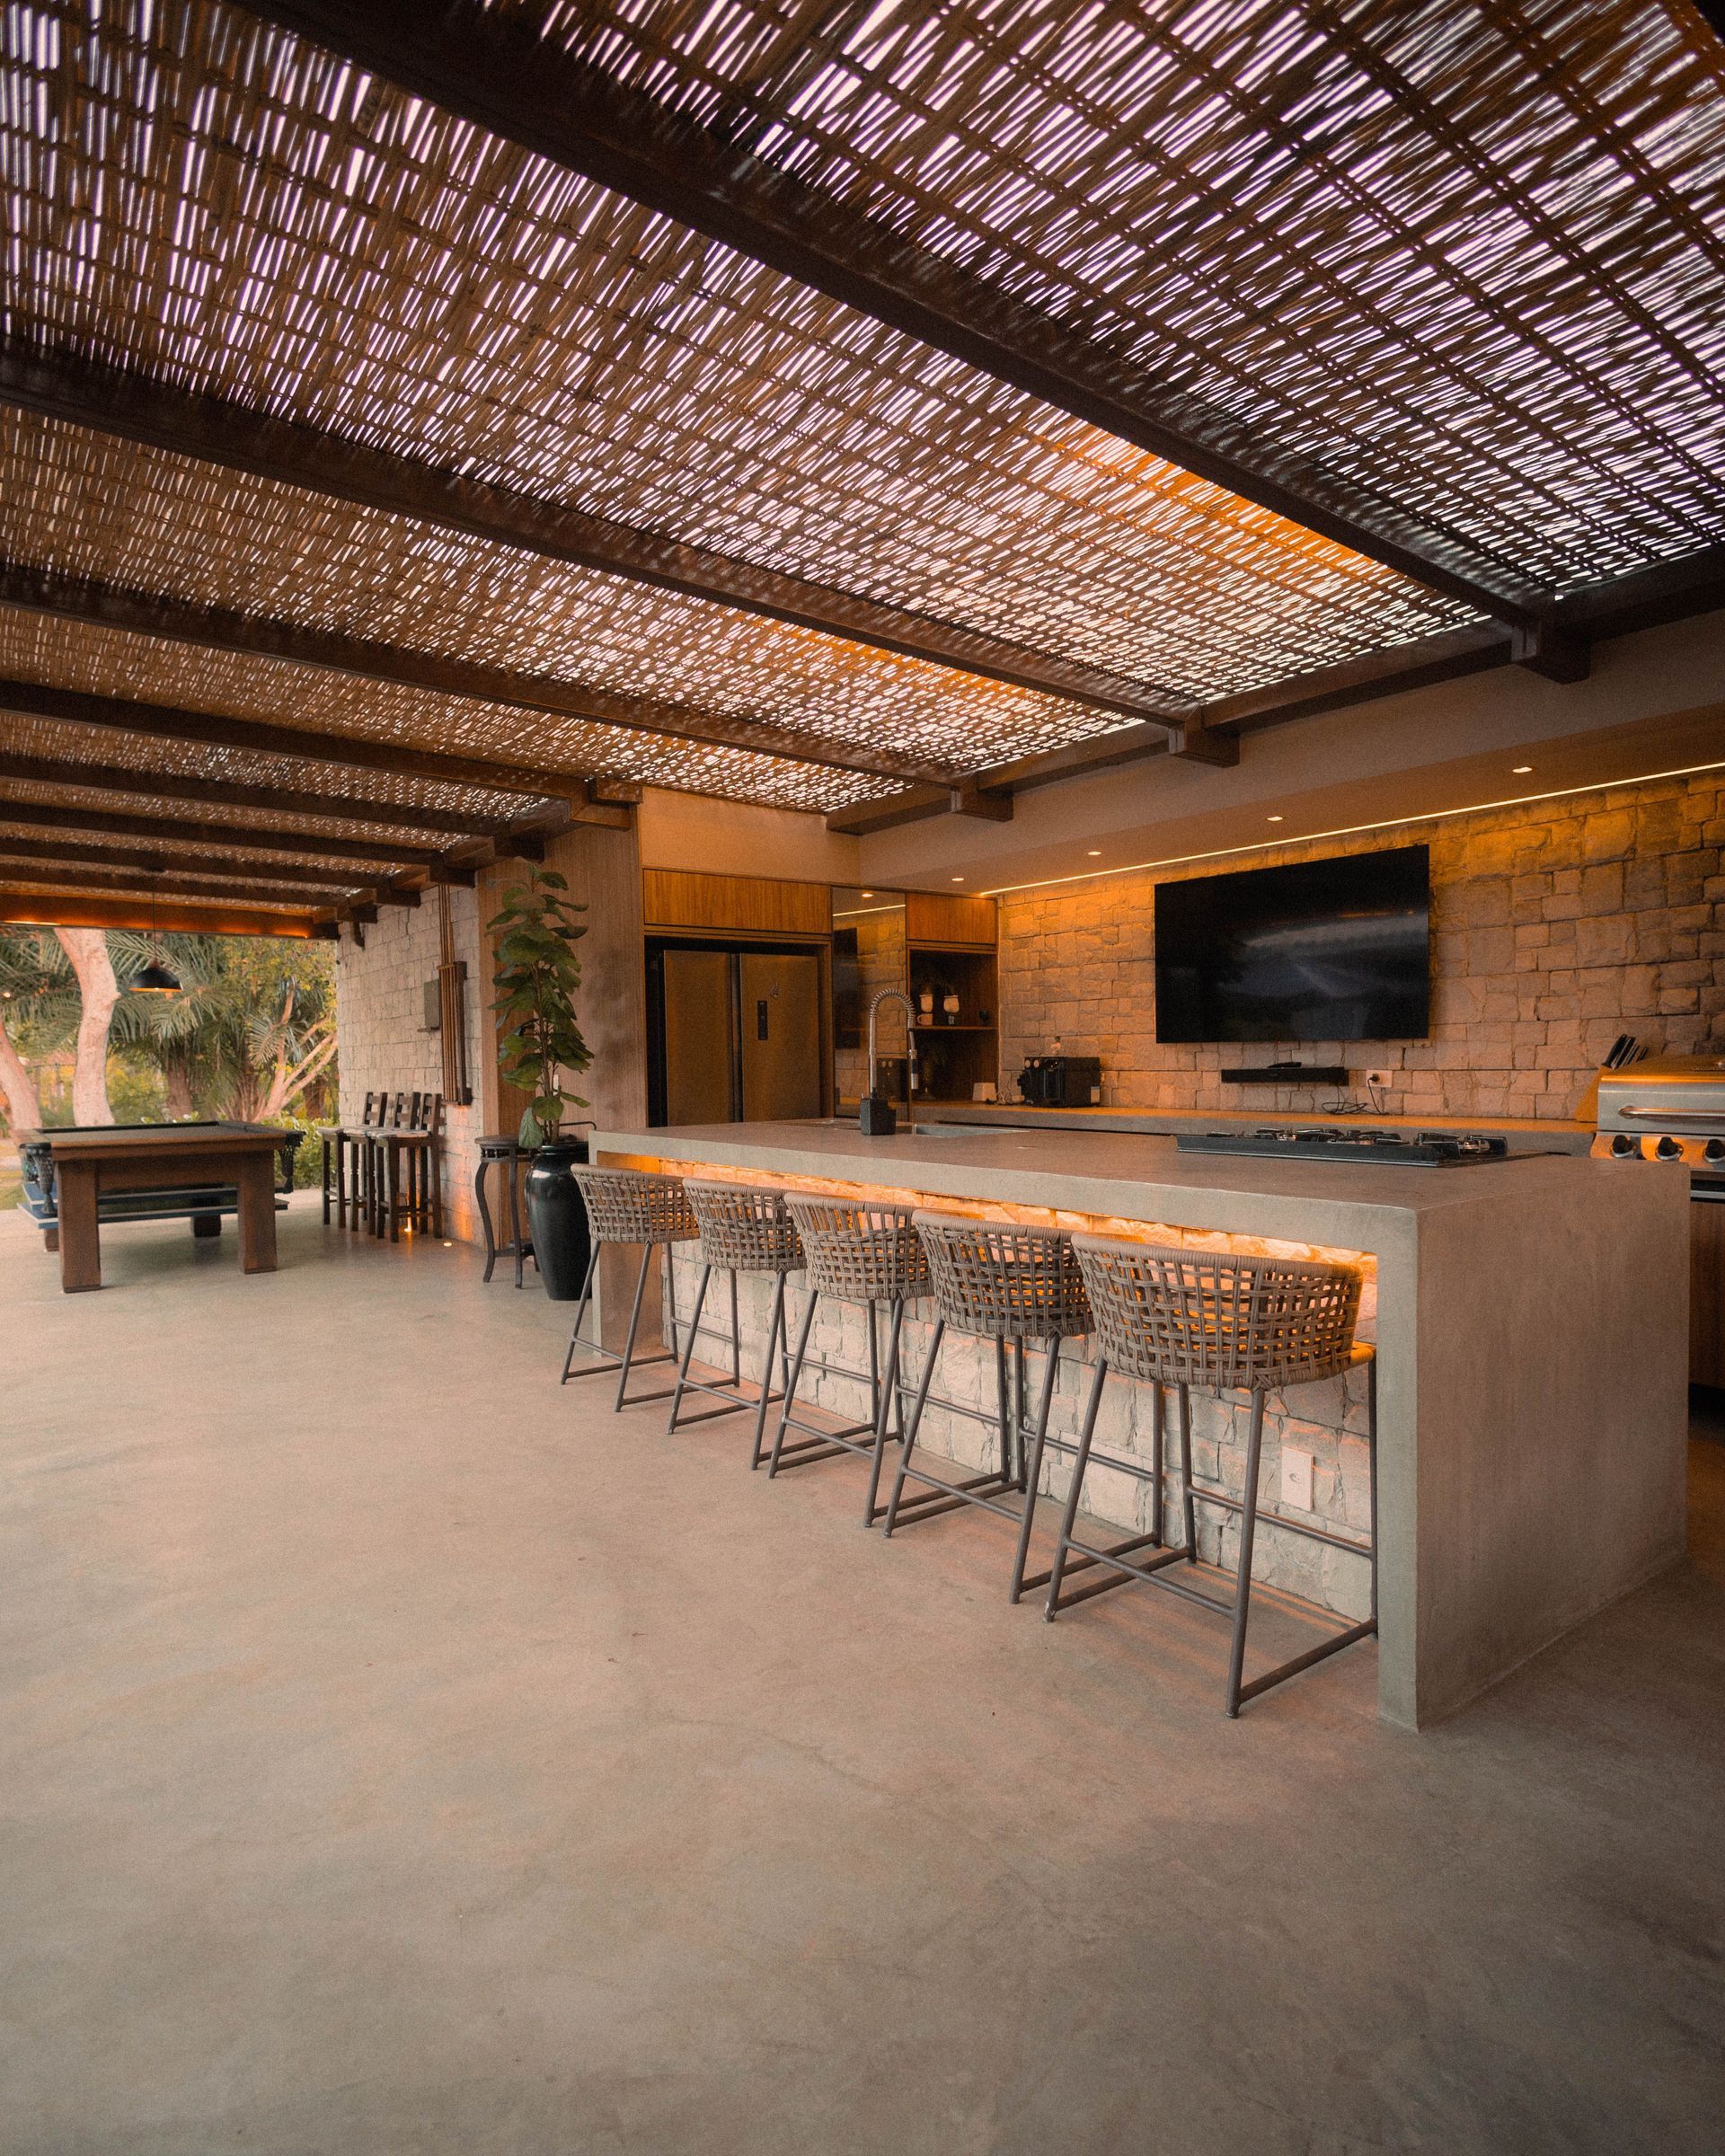
Plain gray concrete is a thing of the past. Modern concrete can shimmer with embedded glass, echo the look of natural stone, glow with rich custom color, and even warm your feet on a frosty morning. If your idea of concrete stops at a dull slab, you're in for a pleasant surprise. At Pueblo Concrete, we help homeowners discover and choose the right add-ons for their concrete surfaces—upgrades that fit their style, their space, and their budget. In this guide, you'll explore the best features available for concrete surfaces: decorative finishes, embedded objects, custom coloring, engraving, epoxy coatings, radiant heating, and custom edge profiles. Along the way, you'll pick up practical tips for each option, answers to common questions, mistakes to steer clear of, and a clear next step to bring your ideas to life. Here's what we'll cover: Decorative finishes that reinvent the look Embedded objects for a truly custom surface Custom coloring that makes concrete yours Engraving, epoxy, radiant heat, and edge profiles Decorative Finishes That Reinvent the Look The finish you choose sets the mood for the entire surface. These three options are the most popular ways to move past plain concrete—and each brings its own personality. Stamped Concrete Stamped concrete presses molds into fresh concrete to replicate brick, slate, cobblestone, or wood planks. You get the high-end look of premium materials without the price tag, the grout lines, or the shifting pavers. It's a standout choice for patios, driveways, and walkways. Exposed Aggregate This finish reveals the natural stones inside the concrete, creating a textured, pebbled surface with real visual depth. It also delivers excellent slip resistance, which makes it a smart pick for pool decks and outdoor steps. Polished Concrete Grinding and polishing the surface produces a sleek, glossy finish that catches the light beautifully. Polished concrete resists stains, asks for little upkeep, and brings a clean, modern feel to interior floors. Practical tip: Match the finish to the space. Smooth polish shines indoors, while textured exposed aggregate keeps things safe wherever water is involved. Embedded Objects for a Truly Custom Surface Want a surface no one else has? Embedding objects into concrete makes it possible. During the pour or finishing stage, we set materials right into the surface for a one-of-a-kind result. Stones and pebbles for an earthy, organic feel Recycled or colored glass that sparkles in the light Seashells for a coastal, personal touch Tile fragments or metal accents for artistic flair Embedded features work beautifully as focal points—picture a decorative border, a countertop flecked with glimmering glass, or a patio inlay that sparks conversation. Practical tip: Objects near the surface need proper sealing to stay secure and vibrant. This is delicate work best left to a professional to avoid loose or uneven results. Custom Coloring That Makes Concrete Yours Color is where concrete truly becomes personal. There are three main ways to add it, each with a distinct effect. Integral Pigments Pigment is mixed into the concrete before it's poured, running color all the way through the material. The result is a consistent, lasting tone that won't fade or chip away over time. Acid Staining Acid stains react chemically with the concrete to create rich, marbled, variegated tones. No two stained surfaces look exactly alike, giving you depth and character that can't be copied. Dyes Concrete dyes deliver bold, vibrant, and precise color. They're ideal when you want a specific shade or a more uniform, saturated look. Practical tip: Combine methods for striking results—an integral base color layered with acid-stain accents, for example. We'll show you samples so you know exactly what to expect before we commit. Engraving and Custom Patterns Engraving cuts designs, borders, or patterns directly into cured concrete. It's a subtle yet powerful way to make a surface feel intentional and unique. Popular options include geometric patterns, tile-look grids, medallions, and even custom logos or family monograms. Engraving pairs especially well with staining, since the cut lines and color work together to define the design. Practical tip: Engraving works on both new and existing concrete, so you can refresh a plain slab you already have—no full replacement required. Epoxy Coatings for Style and Protection Epoxy coatings pull double duty: they look incredible and shield the surface below. Applied over concrete, epoxy forms a durable, seamless layer that resists stains, chemicals, and abrasion. The design possibilities are impressive: Metallic epoxy with swirling, three-dimensional depth Flake or chip systems for a speckled, textured finish Solid colors for a clean, high-gloss look Epoxy is a favorite for garage floors, basements, and high-traffic areas where durability matters as much as style. Practical tip: Surface prep makes or breaks an epoxy job. Proper cleaning, etching, and curing are essential for a coating that lasts—one more reason to trust professional installation. Radiant Heating Beneath Concrete Here's a feature that turns concrete from cool to cozy. Radiant heating systems install beneath the surface, warming the concrete from below and radiating steady, even heat into the room. It's an efficient way to warm floors evenly, banish cold spots, and enjoy toasty surfaces underfoot on chilly mornings. Because concrete holds heat so well, it's a natural partner for radiant systems. Practical tip: Radiant heating must be planned before the pour, so raise it early in the design conversation. Retrofitting later is far more difficult and expensive. Custom Edge Profiles Edges are easy to overlook, but they shape how polished a surface feels. Custom edge profiles define the border of countertops, patios, and steps with a finished, deliberate touch. Options range from crisp, square modern edges to rounded bullnose profiles and decorative chiseled or beveled looks. The right edge pulls the whole design together and signals quality craftsmanship. Practical tip: Balance style with function. Rounded edges are safer in homes with small children, while sharp square edges lean contemporary. Common Mistakes to Avoid A few missteps can undercut even the best design ideas. Keep these in mind: Skipping the sealer. Decorative finishes, colors, and embedded objects all need proper sealing to stay protected and vivid. DIY on complex features. Stamping, embedding, and epoxy demand skill and precise timing. Rushed or amateur work tends to show. Planning heating too late. Radiant systems must go in before the pour—decide early. Ignoring the setting. Choose finishes and colors that complement your home and hold up to how you actually use the space. Frequently Asked Questions Can these add-ons be applied to existing concrete? Some can. Engraving, staining, epoxy coatings, and polishing often work on existing surfaces. Others—like embedded objects, stamping, and radiant heating—need to happen during a new pour. Which decorative finish is most durable? All hold up well when sealed correctly. Epoxy and polished concrete are especially tough for high-traffic areas, while stamped and exposed aggregate excel outdoors. Do colored or decorative surfaces need special maintenance? Not much. Regular cleaning and periodic resealing keep colors bright and finishes protected for years. Is radiant heating worth it under concrete? For many homeowners, yes. Concrete holds and radiates heat efficiently, making it a comfortable, even, and cost-effective way to warm a room. Can I combine multiple add-ons? Absolutely. Some of the best results mix features—like a stamped patio with custom color and a decorative edge, or a polished floor with engraved accents. How do I know which add-ons fit my project? That's where a local expert helps. Pueblo Concrete assesses your space, style, and goals, then recommends the options that work best together. Find the Right Add-Ons for Your Concrete Concrete is far more versatile than most people expect. With decorative finishes, embedded objects, custom coloring, engraving, epoxy coatings, radiant heating, and tailored edges, you can transform a plain surface into a genuine showpiece. The secret is choosing the right combination for your space—and installing it correctly so it lasts for years. That's exactly what we do. Pueblo Concrete works with you from first idea to final finish, helping you find the right add-ons and bring them to life with expert local craftsmanship. Contact Pueblo Concrete today to talk through the features you have in mind—and let's create a concrete surface that's truly your own. Meta Title: The Right Concrete Surface Add-Ons | Pueblo Concrete Meta Description: Discover the right add-ons for your concrete surfaces—stamped finishes, embedded glass, custom color, epoxy, radiant heat, and more. Pueblo Concrete can help.